Main Task
This is my finished plan of our main task ideas, it included the charcaters the location, the plot and the equipment. It was created to help my group to be organised and run through what we ware going to do and how were going to do it.
Location:
We decided to locate our filming at a farm yard in Cranliegh, which belonged to group member Alex Stanley's family. The location looked execllent for our idea and fitted the plot and location appropriately. It concluded of a dark muddy roadway towards a deserted looking barn surrounded by thriller looking
woodlands.
This is a medium shot of our location minus the road way leading up to it. The woodland surrounding the location will provide us with a thriller feel to the film. The lack of openness of the location gives the secluded,
desolate feel which we were looking for.
This was the barn we were using for our main task, it fitted the specification for an eerie looking barn which could be involved with our main task plot. The busy surroundings provided the barn with a isolated feel.
This was the gloomy looking roadway up to the main area and this would be where the clip begins because we can set the scene with establishing, long, panning and two shots to engage the audience into the environment and where the scene is taking place.
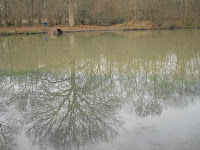

This is also the area around the location, the ambiguous lake added to the scenic surroundings, providing a thriller looking location.
The inside of the cabin matched the outside environment it was located in, the old fashioned furniture and atmosphere provided the perfect location, meeting to our specification points to shoot our main task.
Equipment:
Tri-Pod

We used a standard sony tri-pod for shooting out main task. We learned to use this equipment in class, as we practised using the tri pods and learnt the effects of using them and why they were used.
This was taken during our main task filming and this was used for a medium shot of two people walking towards the camera. We decided to use what we had learnt and use a tri-pod for this shot. Because we didn't want the camera to be shaky because it would look like we were purposely trying to make it look like someone was watching them, but this was the beginning few scenes so we wanted a stable camera to establish the plot first.
iMovie
Which editing programme did we choose?
iMovie came pre-installed on our school laptops and we decided to use this programme to edit our media.
We found iMovie was the best editing programme to chose over Microsoft Movie Maker, Avid FreeDV and Wax.
To edit our main task we used the Apple Mac application called iMovie. We were taught the processes of editing and how to edit the clips we wanted. iMovie was very effective when editing our clips and very easy to use which was important. We used iMovie to merge the selected clips together, add specific non-digetic sounds and add any effects.
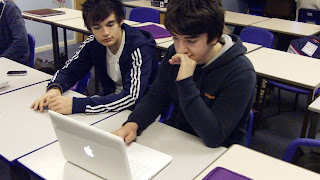 |
| Alex and Nick working on a Apple Mac using iMovie. |
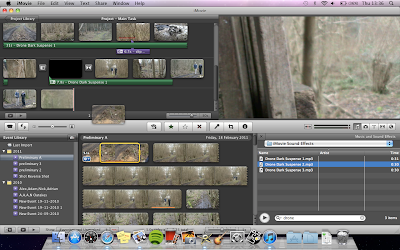 |
This screenshot was taken to show how we selected pieces of
video to put into our final task film. All we had to for this was
to select the clip and drag it up into the top left handside
wherever we wanted the section to appear. |
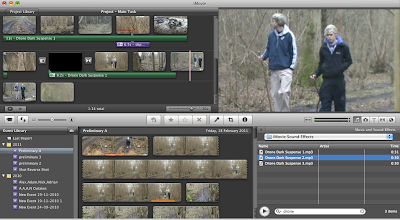 |
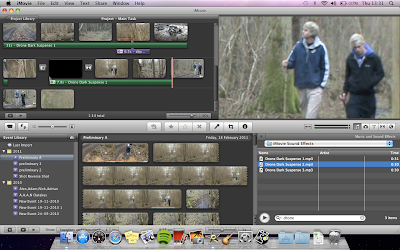
This screenshot shows how we editied the sound in our film.
We searched 'Drone' and found 3 sounds corresponding with
that sound. We found the most fitting in relation to the video and dragged
it into the space where we wanted it. This sound was used in
sections where tension was rising to contribute to
that effect on the audience. |
 |
This screenshot shows how we edited the duration of the
sound. Where the red line appears on the top left hand
side there is a function where you can drag the green
bar as far as you need, extending or cutting the duration
of the sound. |
 |
This screenshot shows the use of placing sound from parts
into another part. We found the sound was better on
Take 1 rather than Take 2, however Take 2 was more
smoothly filmed. So we used Take 2's video and the
purple box highlighted shows where we inserted the sound
from Take 1 to leave us with a better looking section.
Sony Handycam DCR-SR68E
To film our main task we used a Sony Handycam, supplied by our school. The Handycam provided us with a clear HD image and an easy way to shoot the different sections of our main task. Also the flexibility of movement helped us shoot sections of film that suited a hand-held video camera. We learnt how to use the camera during lessons and this enabled us to experiment with the camera and use in specific situations to judge how to film and use to Handycam.
Actors
|
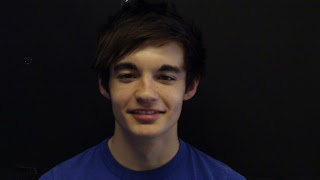 |
Nick Stevens
Nick, Media student, plays the role of the man running
away from the psycho. |
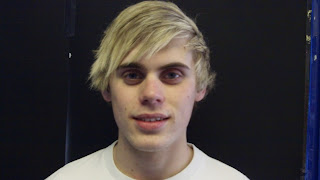 |
Will Chalcraft
Will, plays the role of the walker along with Adrian. |
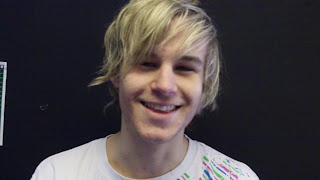 |
Adrian Swart
Adrian, Media student, plays the role of the walker along with will. |
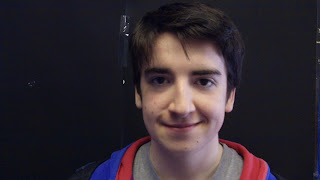 |
Alex Stanley
Alex, Media student, plays the role of the psycho. |
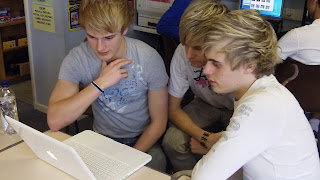 |
This is Will, Dan and Adrian watch out film so far
and give us feedback on what to improve and what
they like. |
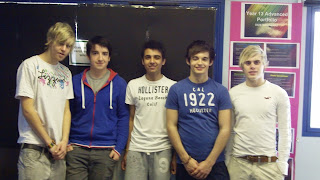 |
| This is our Media group, Adrian, Alex, Adam, Nick, Will. |


 In lesson time we ran through some practise scenes holding tri-pod the camera sat on instead of placing it down and filming. We found when filming like this, the effect of the camera not being stationary and
 After analysing the editing from our preliminary task we decided there were many clips which were either boring shots or shots which didn't have camera movement. We had to develop a skill to edit any still looking shots and make them into exciting shot which could build tension and anticipation in certain scenes in our film. We decided to dedicate some time to learn the 'Ken Burns' effect. This effect would brighten up our boring camera shots by gradually panning in or out of shots we specified. The effect allowed us also to crop any objects or characters we didn't want in the clip offering some margin for error, otherwise we would have to re-film the clip. We tested Ken Burns on practise clips to make sure we could use the effect before we started to film our main task.